1 Create A Template
1.1 Preparations
-
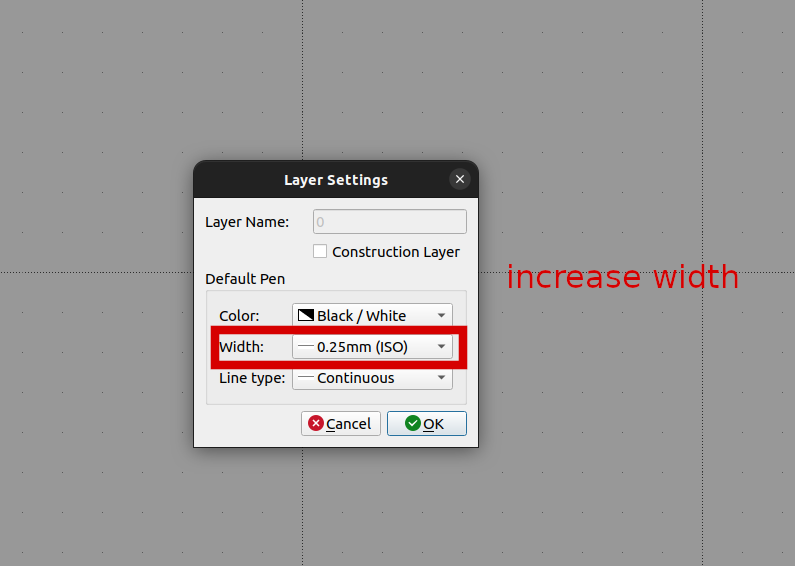
- Edit present Layer
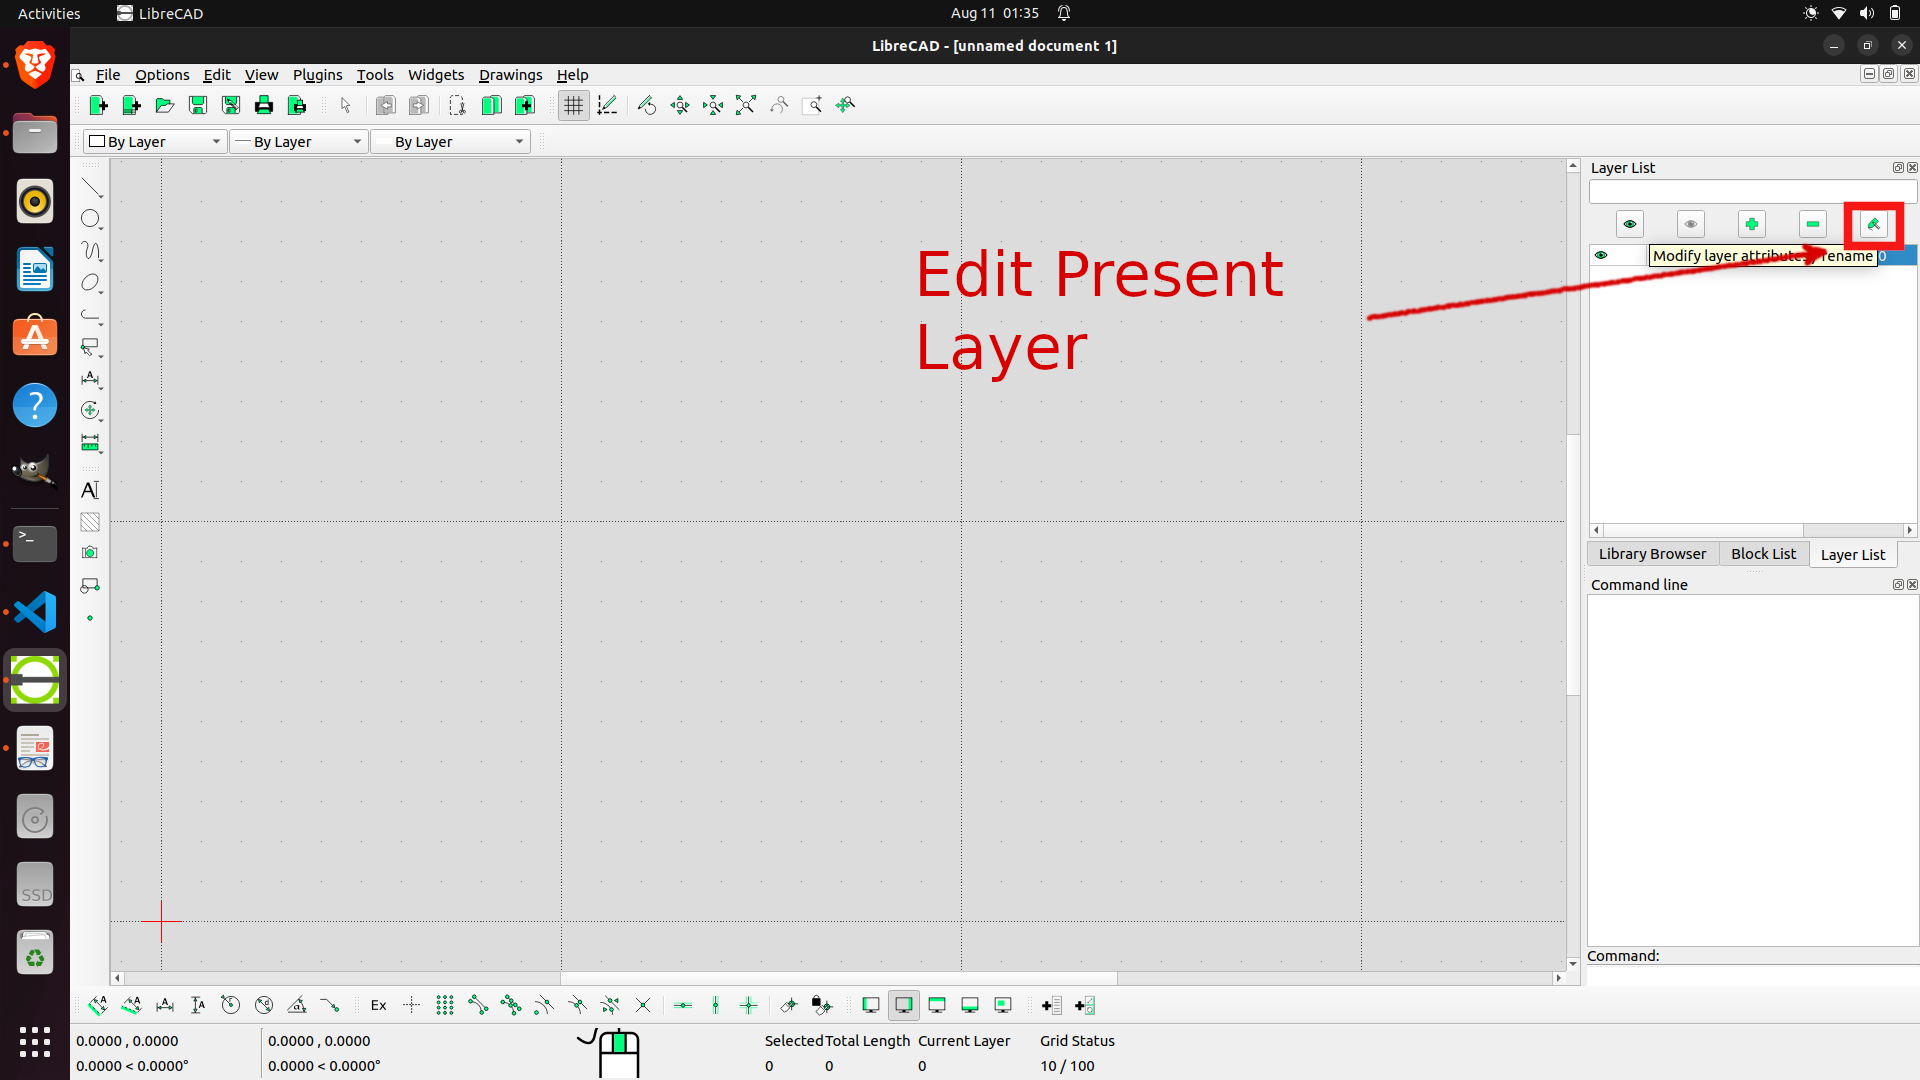
- Set Layer Settings value
- Check Current Drawing preferences
- Go to current drawing preference
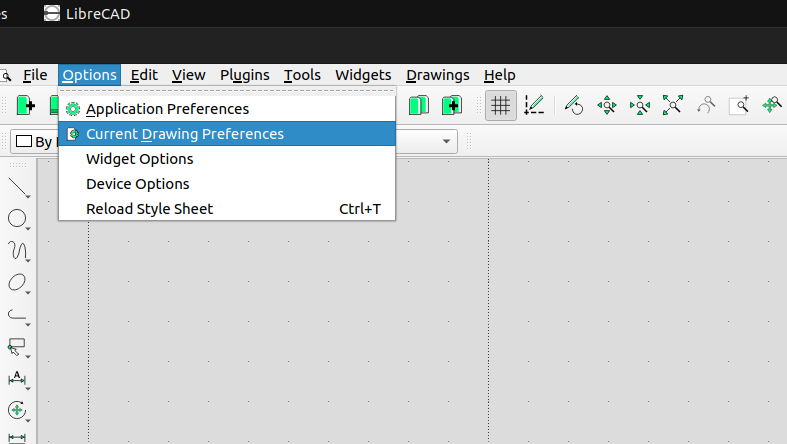
- Edit Current Drawing preference
- Paper: Select A4 Format, Orientation Landscape, and pay attention to the dimensions: Width 297 mm, Height 210 mm
- Units: Main drawing unit Millimeter, Format Decimal, precision 0.0000 (precision machinery today go to a thousandth of a millimeter or less – in construction engineering an inch is a precise measure)
- Grid: Default selections are OK (Grid on, Orthogonal, etc.)
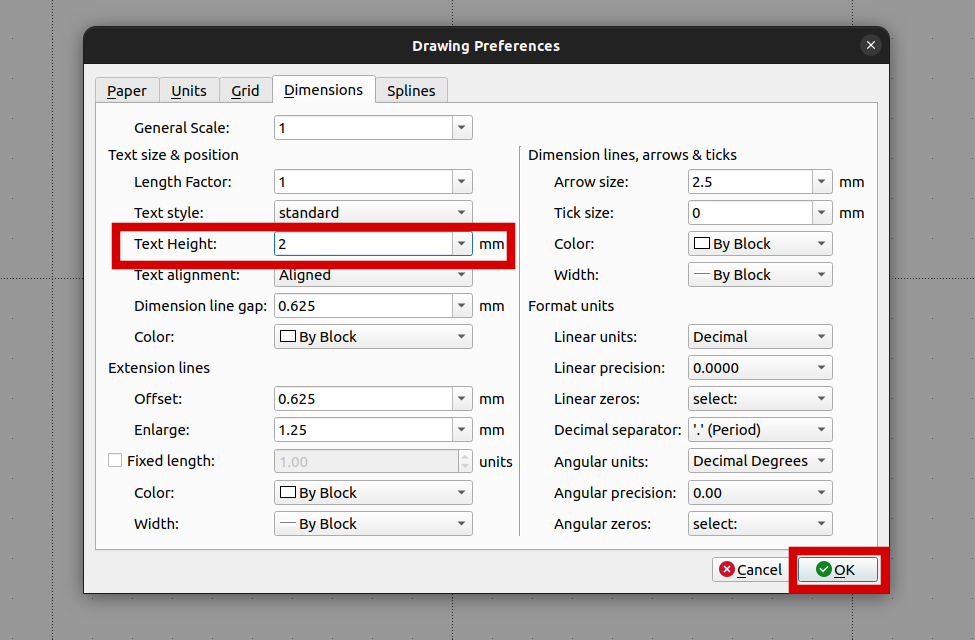
- Dimensions: Change Text Height to 2 mm, leave the rest as they are
- Splines: No actions
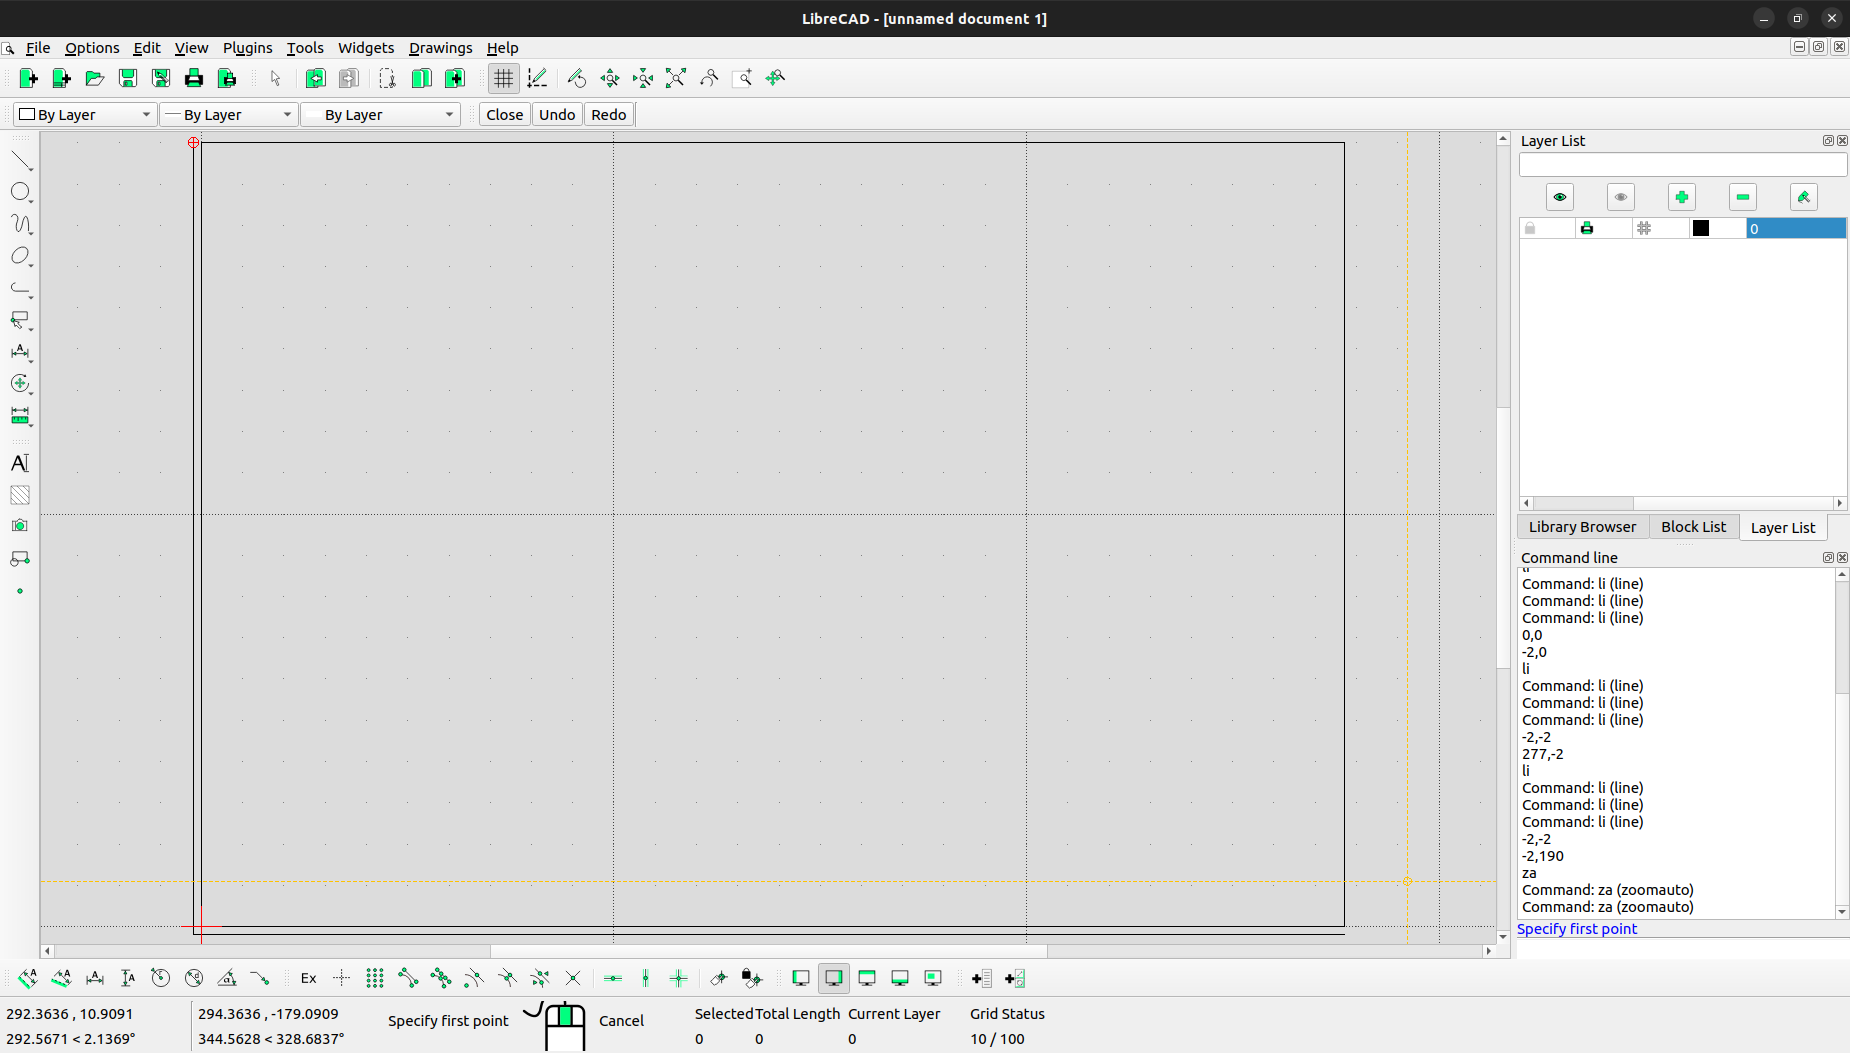
1.2 Draw the Border
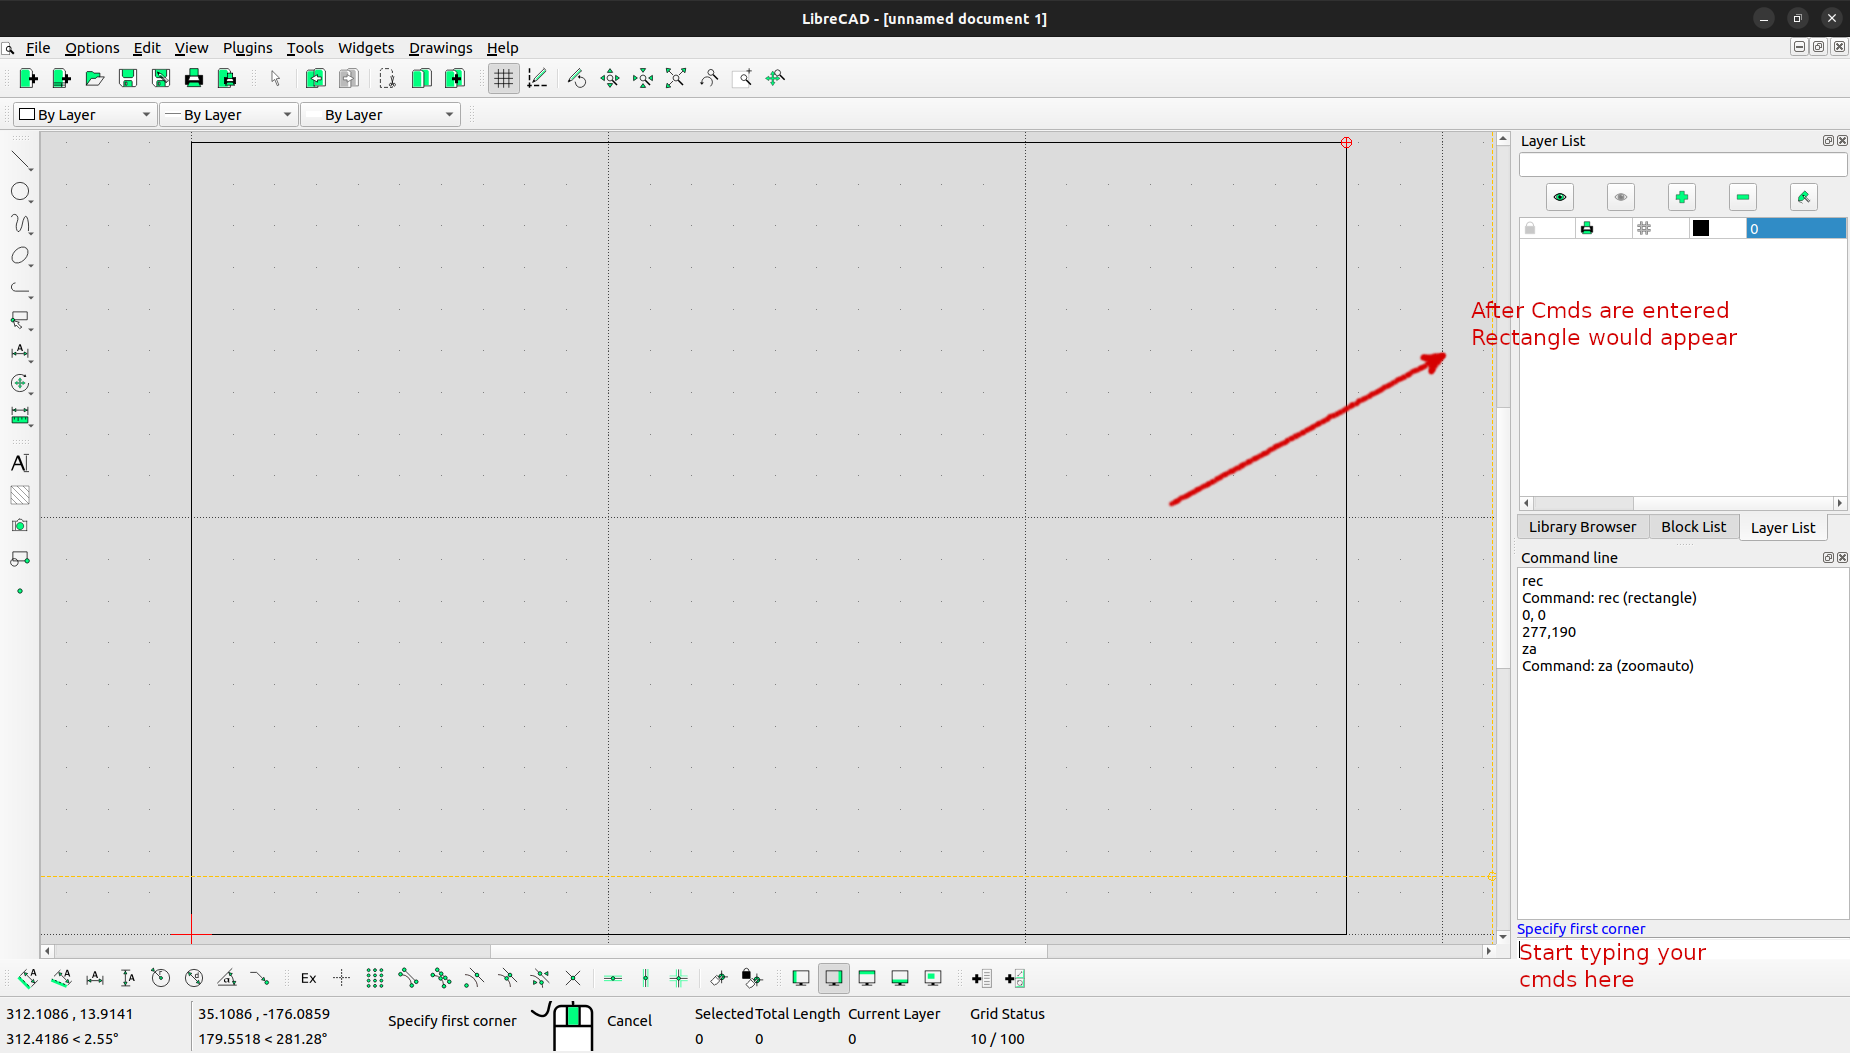
- Draw the outer rectangle, we are going to draw a 277x190 mm rectangle, as an A4 page is 297x210 mm
go to cammand box , type the followign commands lines after each line type enter
rec
0, 0
277, 190
for auto-zoom , and rectangle to be visible, Enter in the same command-box
za
Press [Esc] to end the task
- Draw 2mm thick Boarder parallel lines
- Extend Rectangle 2mm left
li
0,0
0,-2
- Extend Rectangle 2mm down
li 0,0 -2,0 - Draw Boarder parallel lines
li
-2, -2
277,-2
li
-2,-2
-2,190
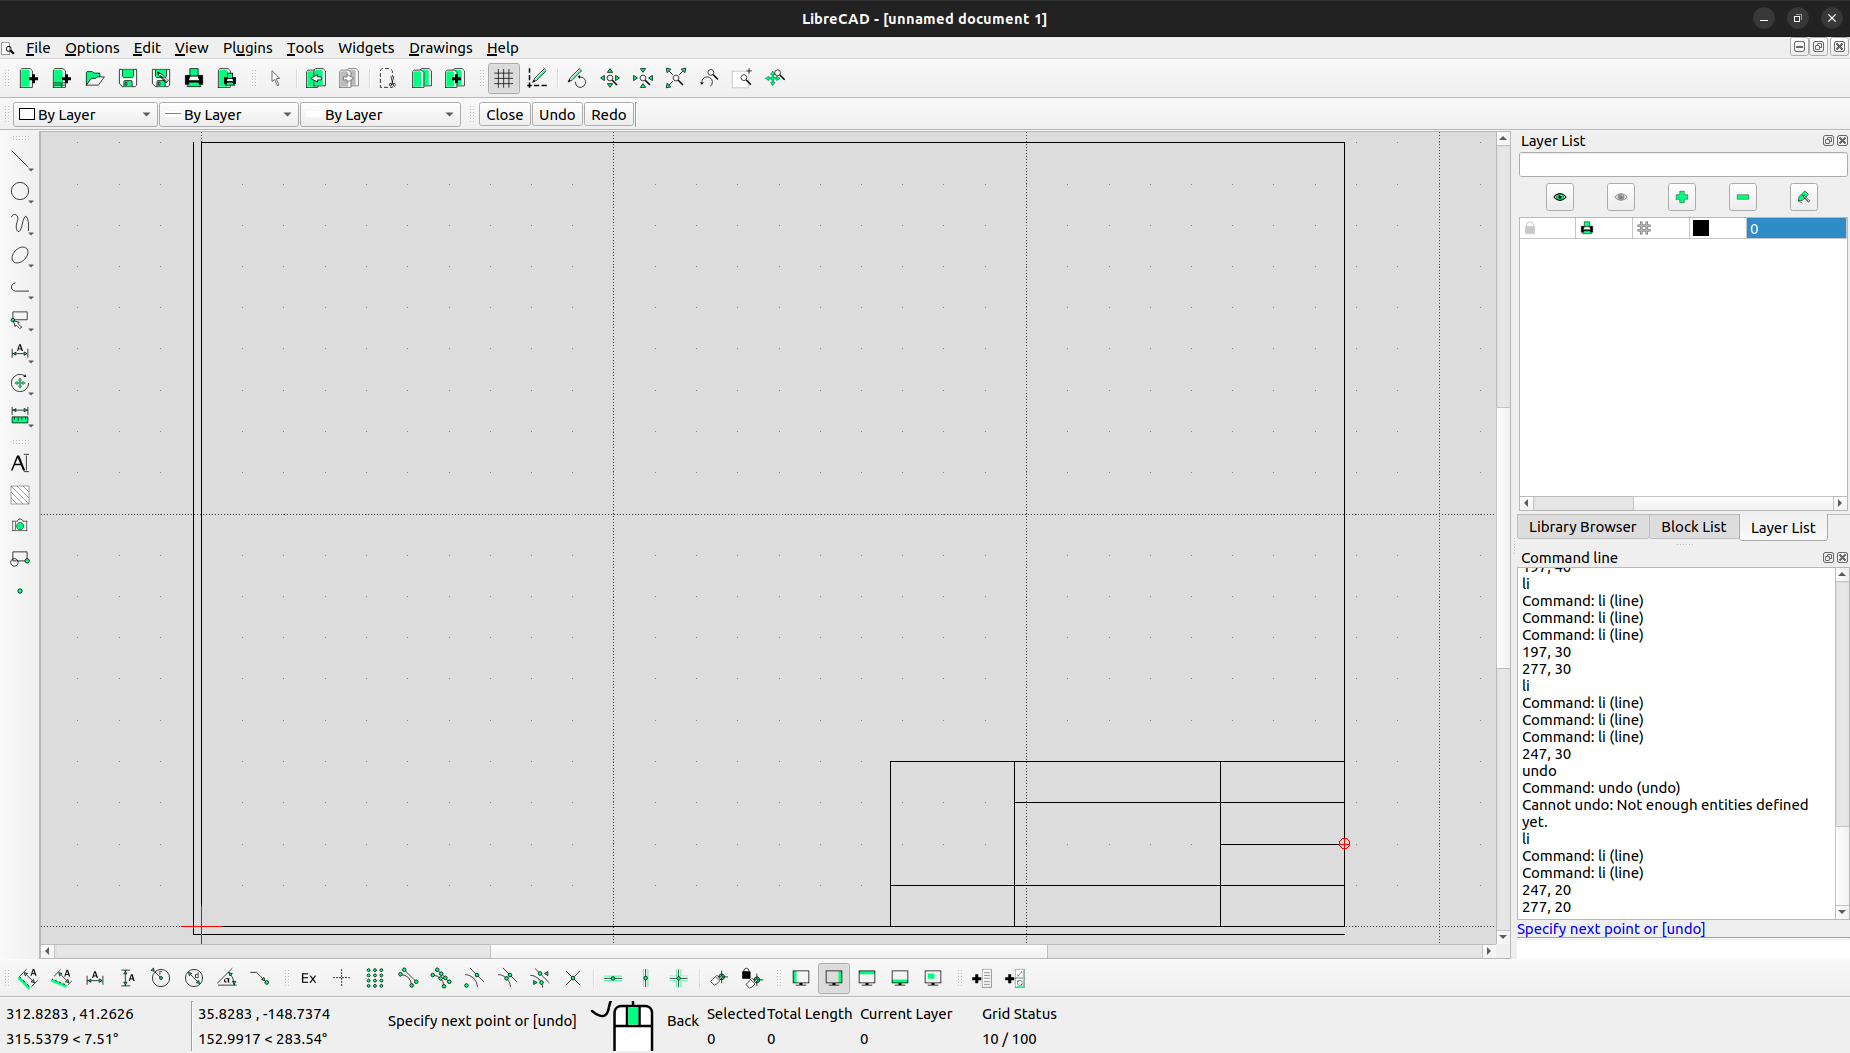
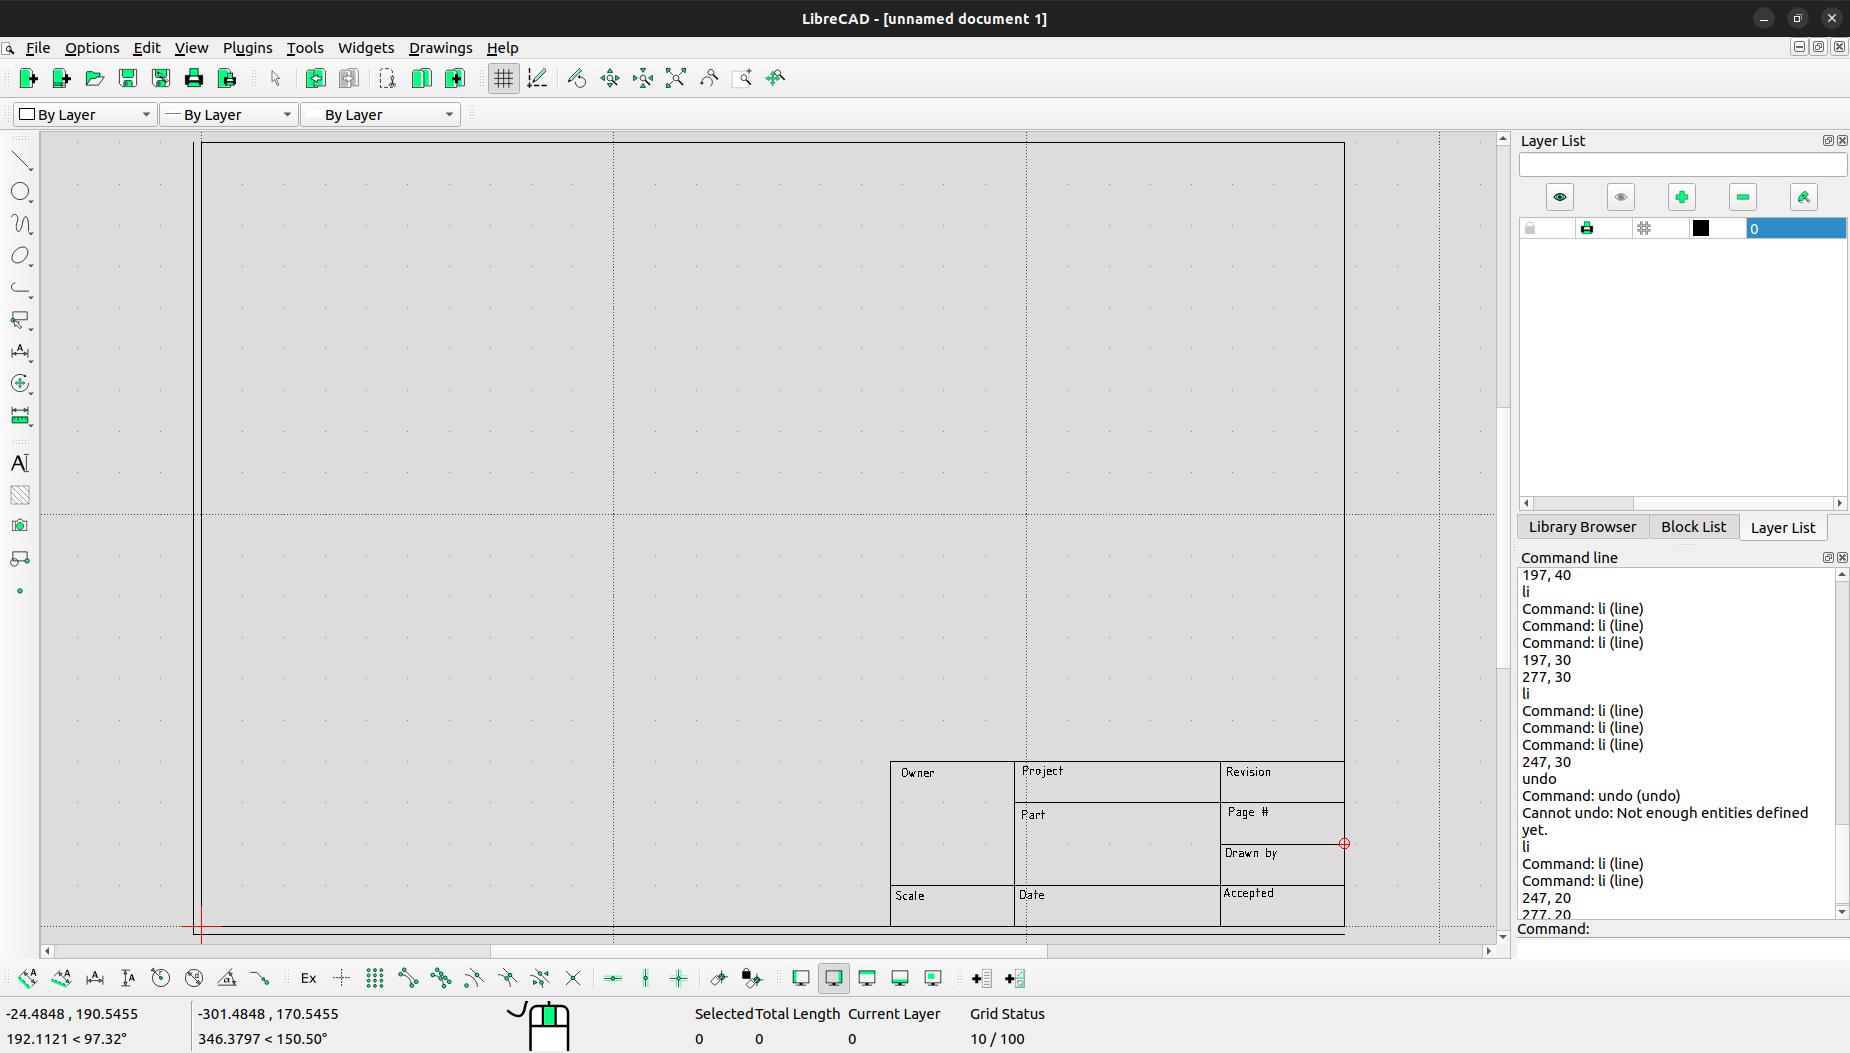
1.3 Draw the title block
To Create a Title bock run the follwing commands
li
167, 0
167, 40
277, 40

li
197, 0
197, 40

li
247, 0
247, 40

li
167, 10
277, 10

li
197, 30
277, 30

li
247, 20
277, 20
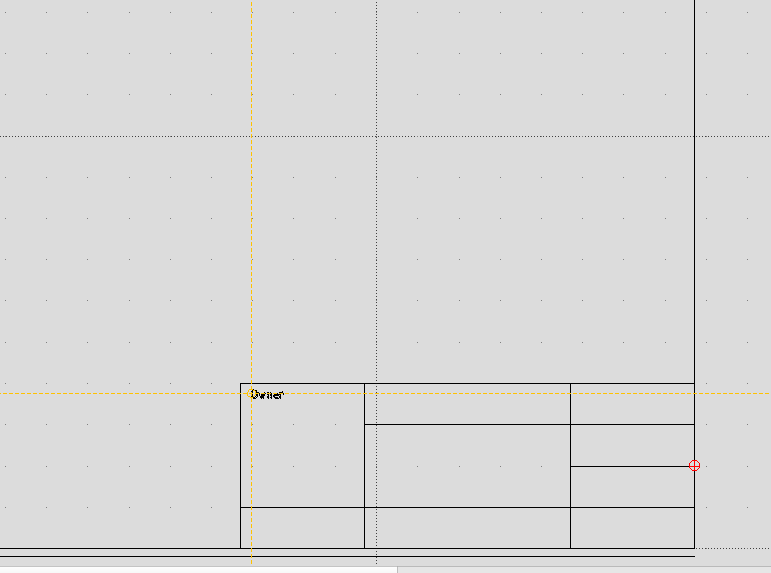
the result of the above commands would be like this
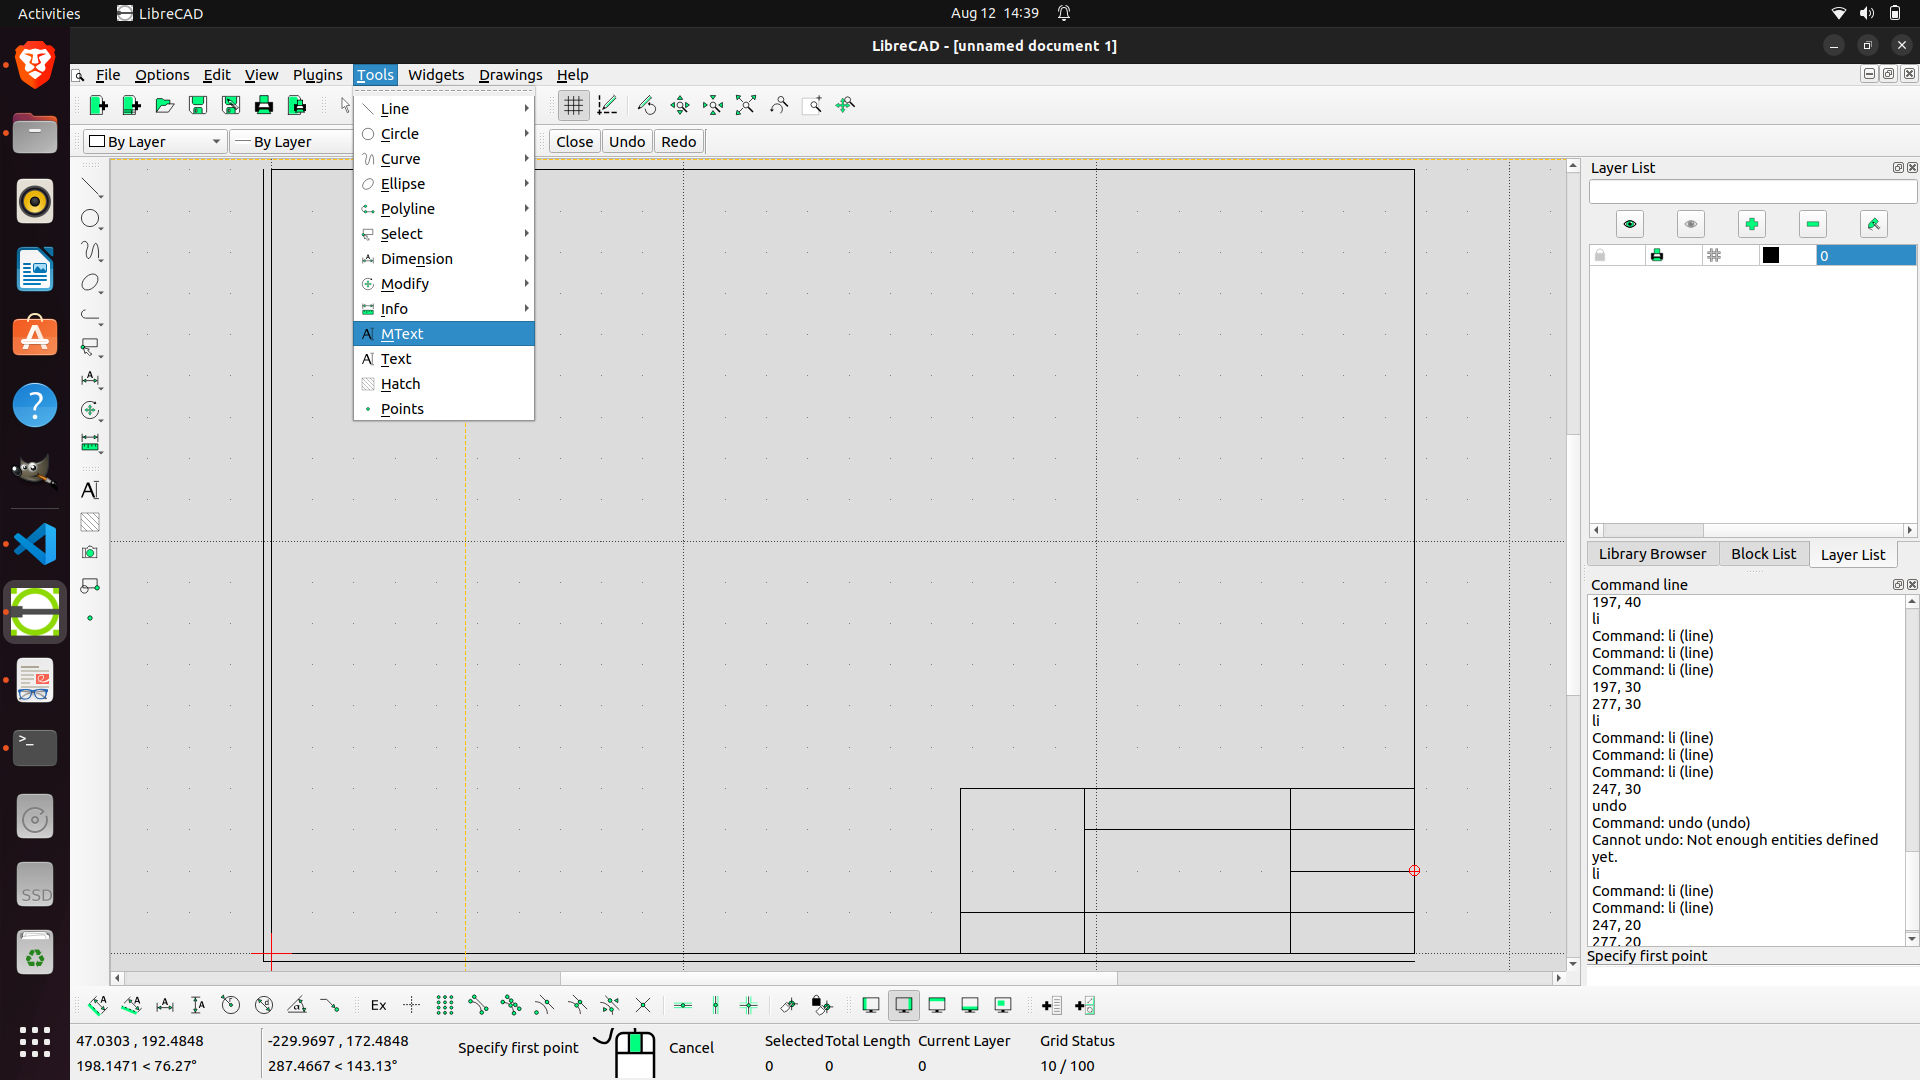
1.4 Add Text To the Title Block
- Go to
Toolsthen selectMText
- Check
Alingment, Text height , Text content
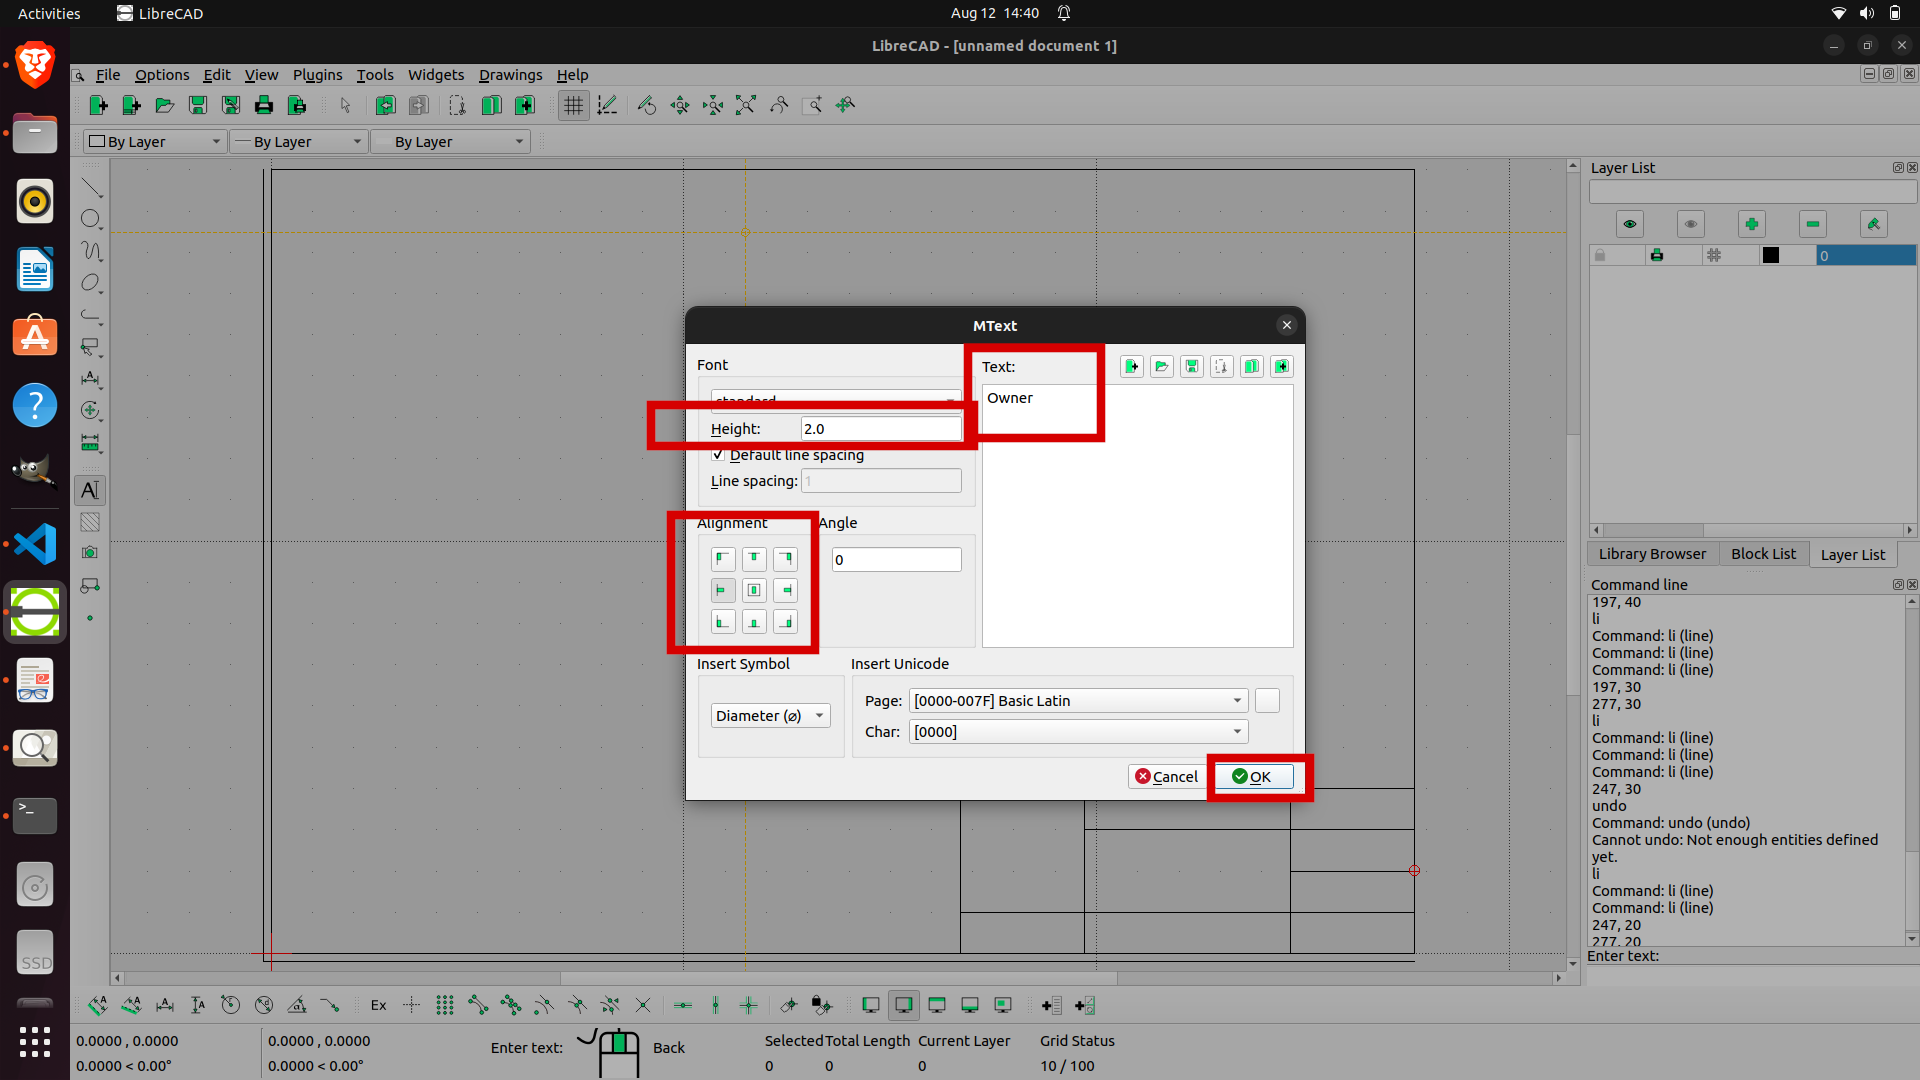
- Place the MText at right Position
- Repeate The process for remaining texts till you get this
1.5 Add Image to Title Block
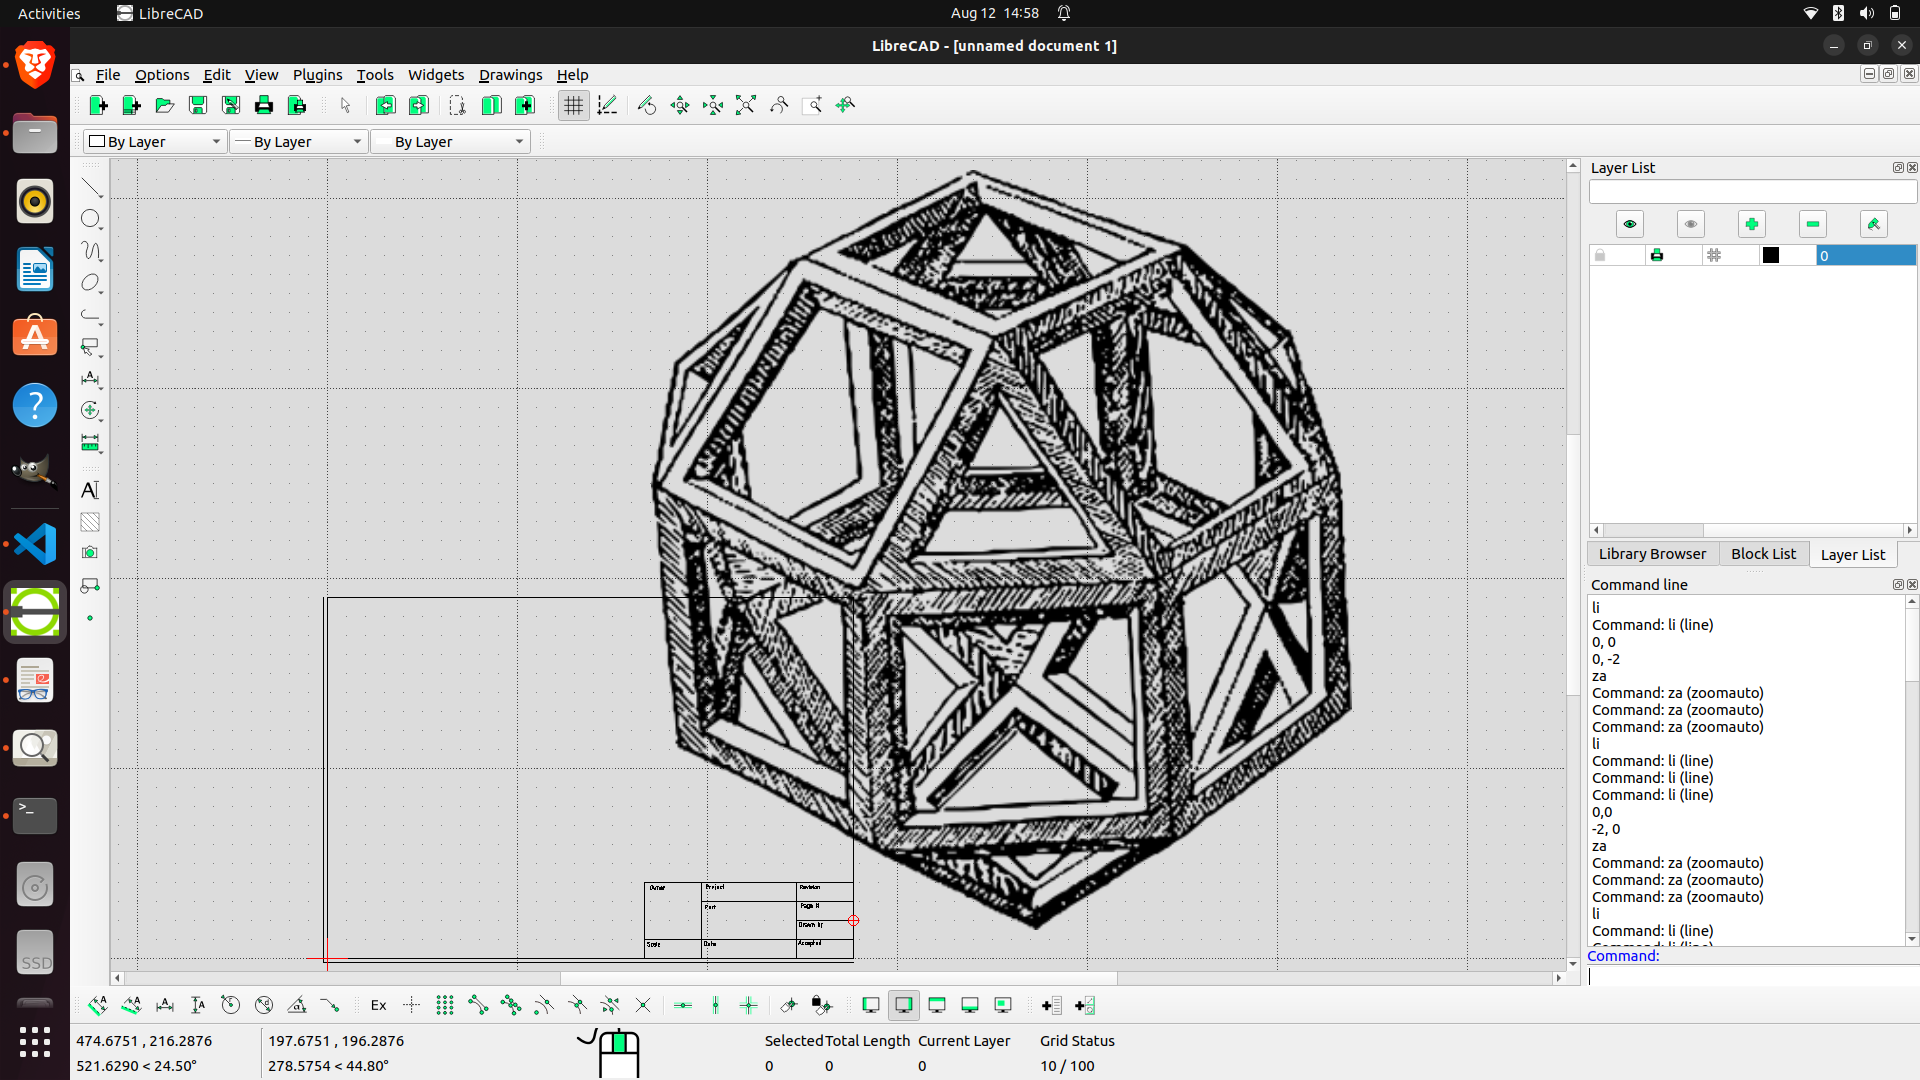
- Import Image/Symbol you want in Title Box
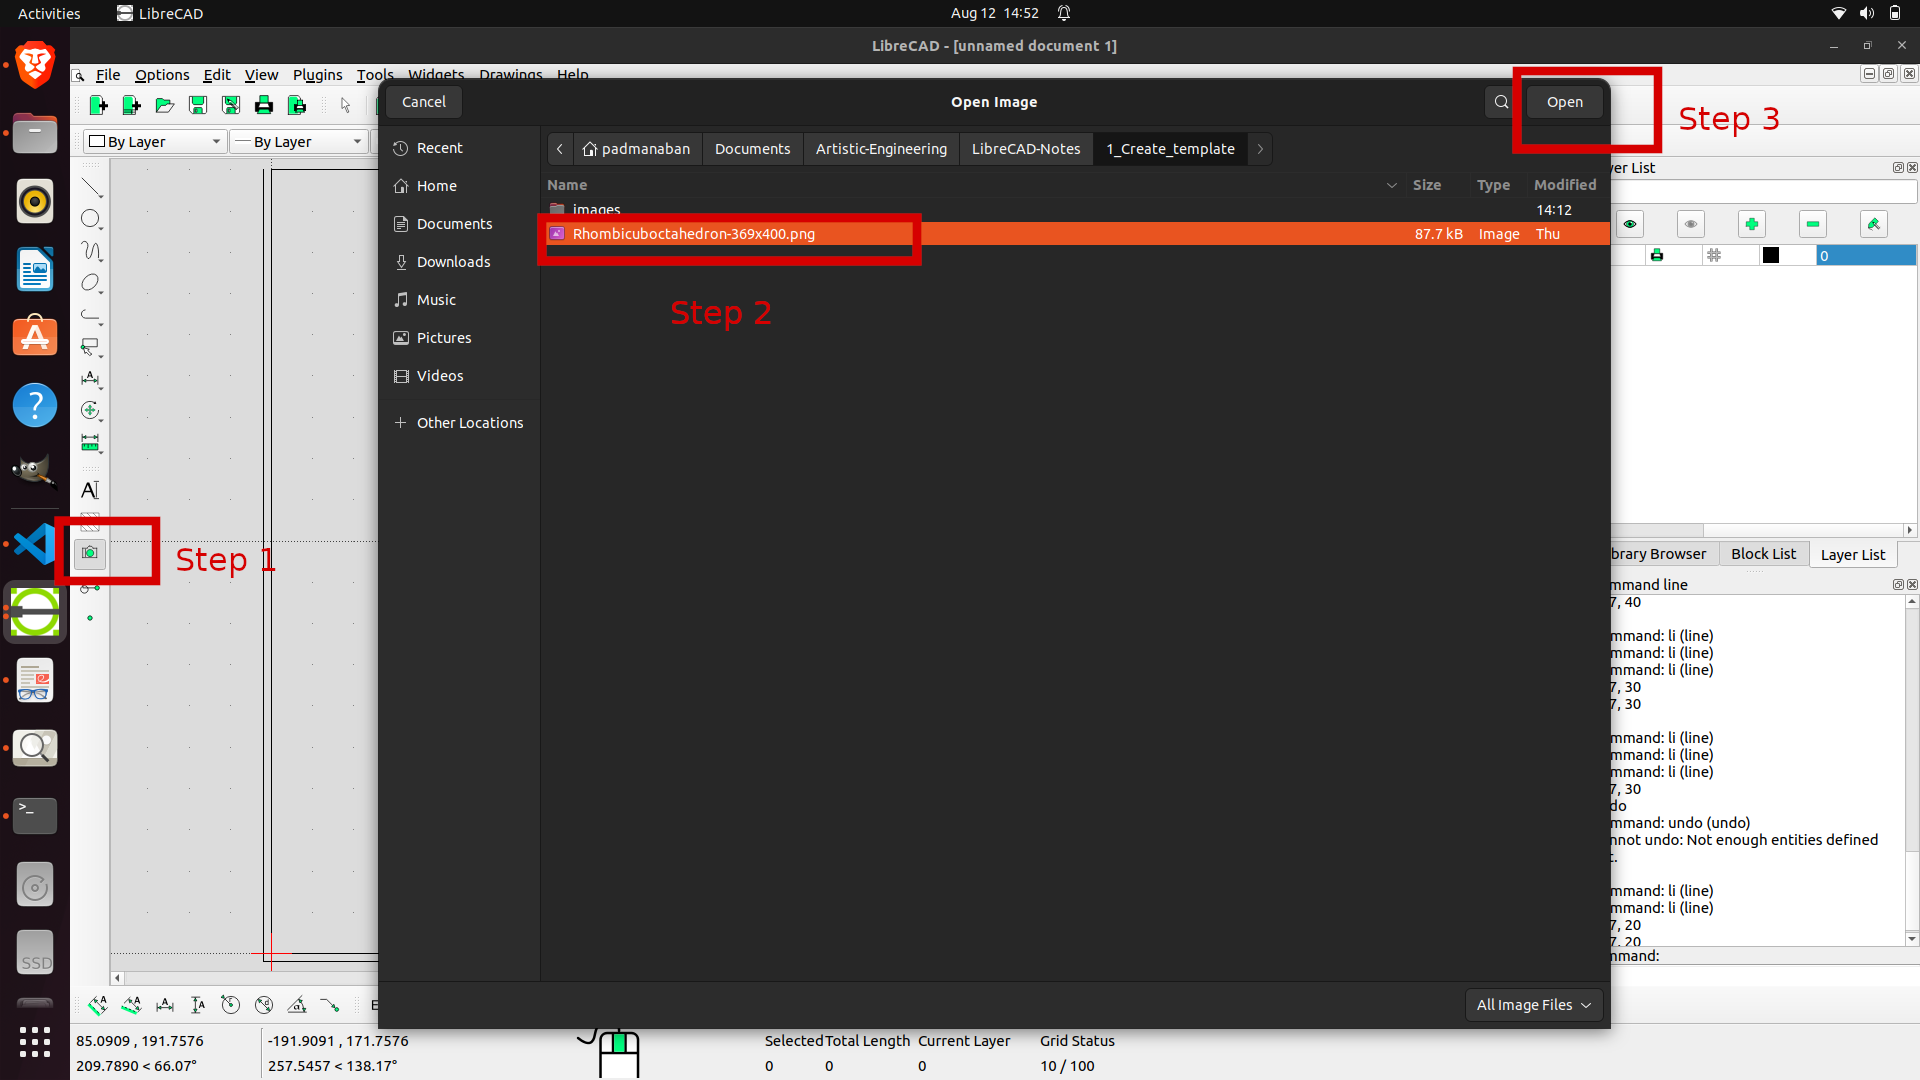
- Now auto-scale to check if the image fits correctly
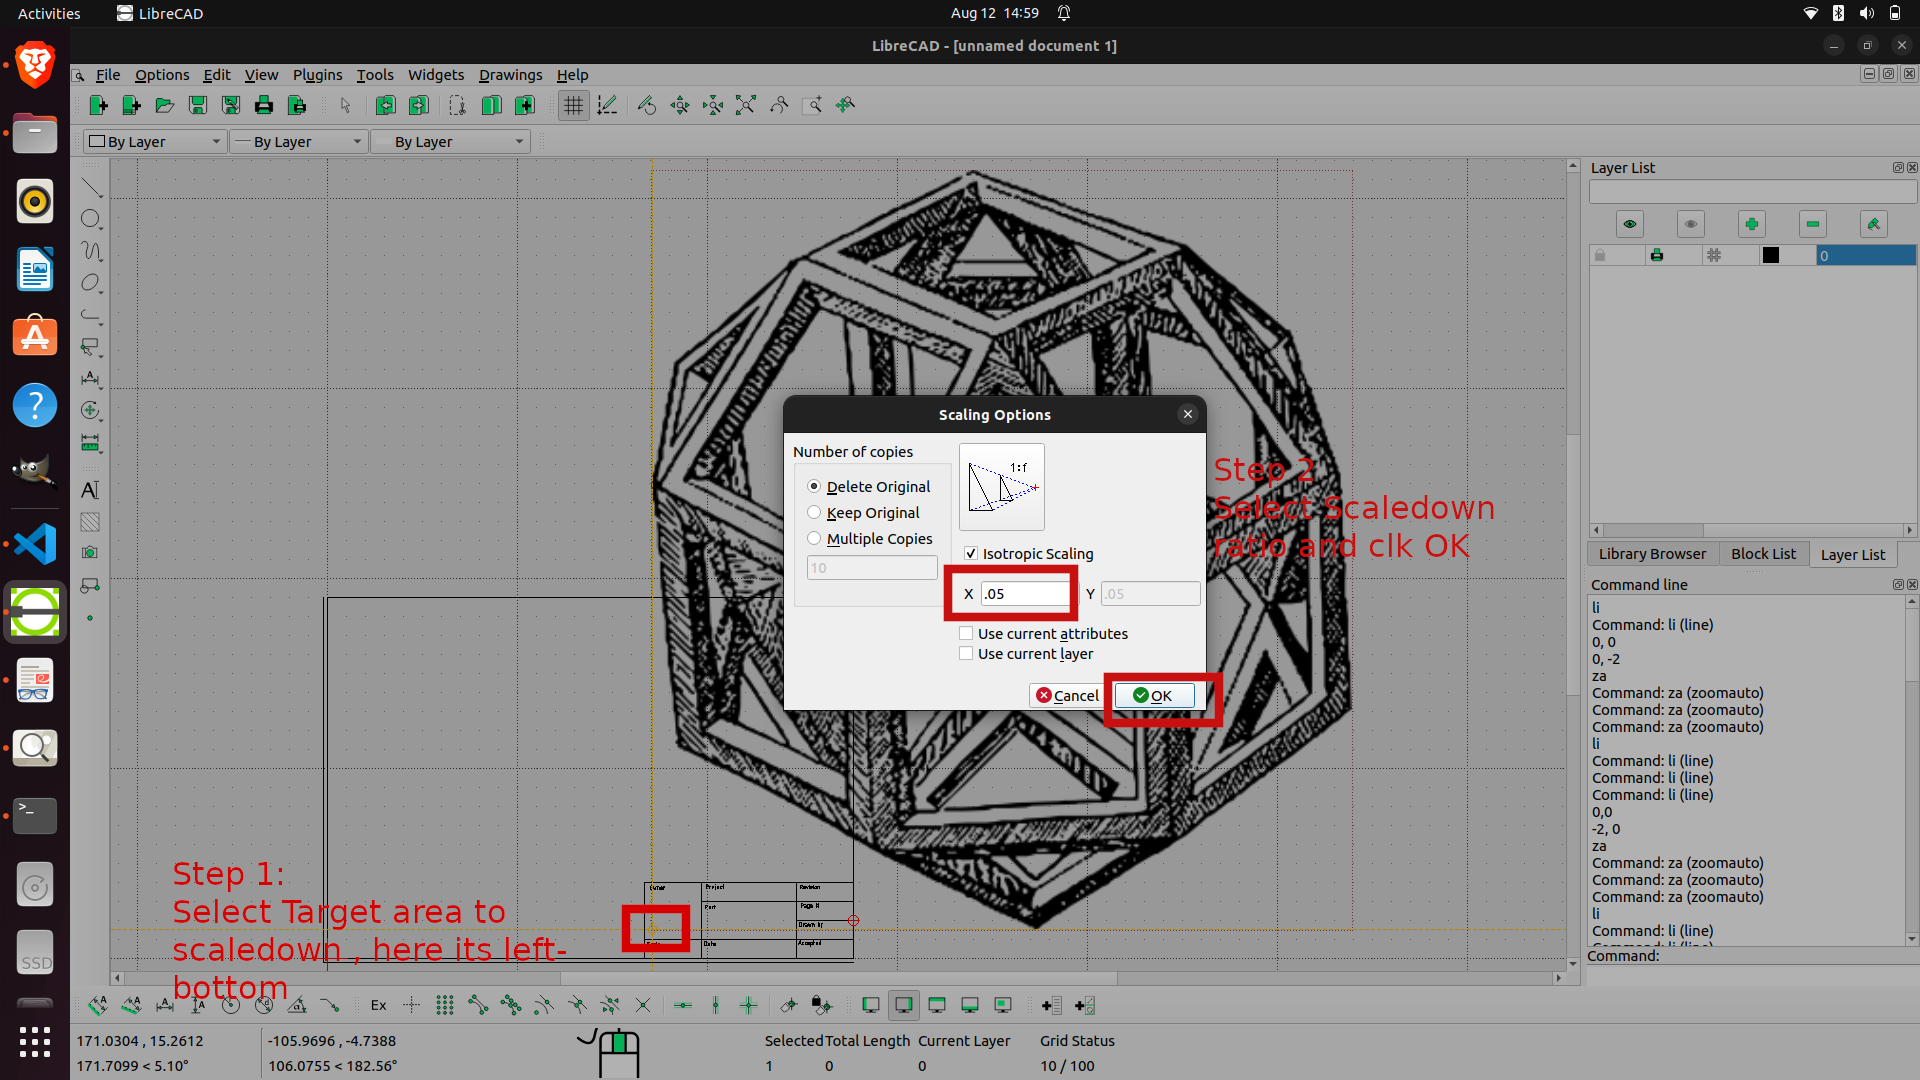
- To scale down select
Scale
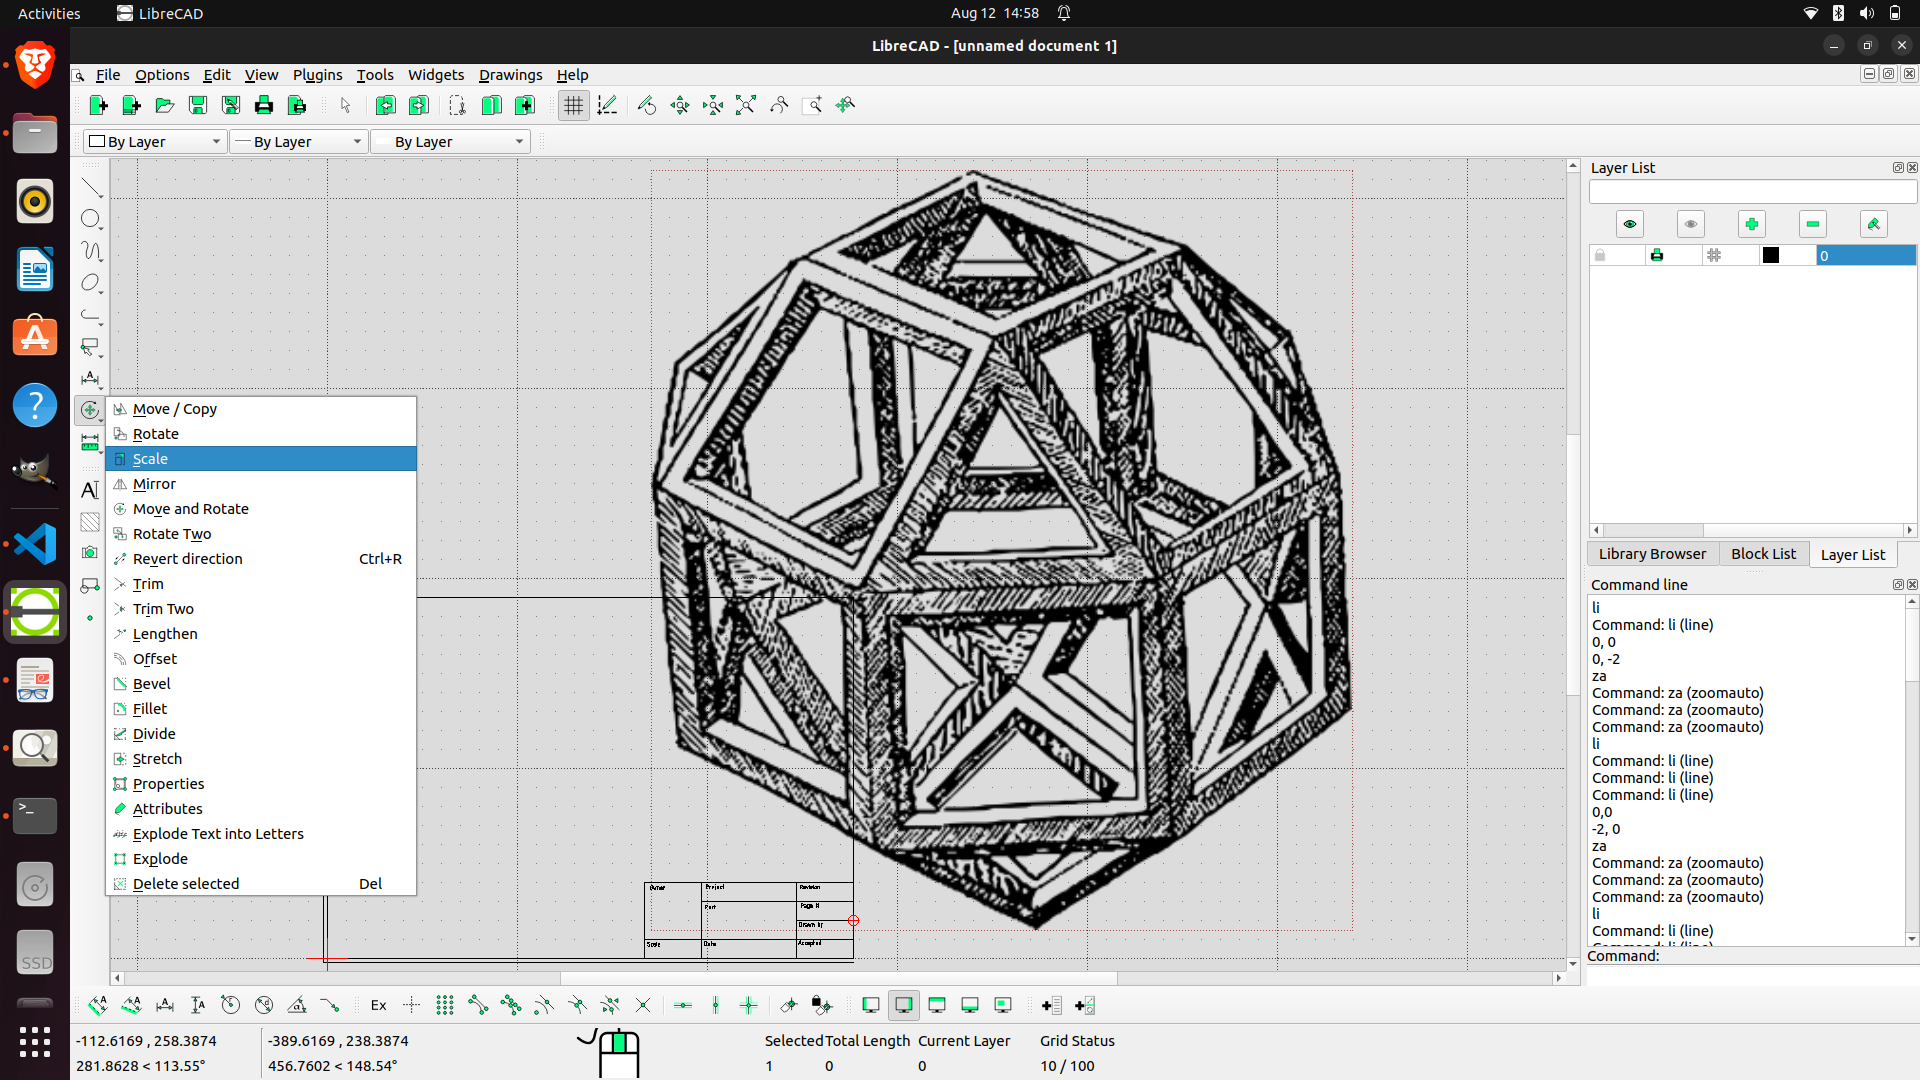
- Set Target Scale down point , and target Scale-down ratio
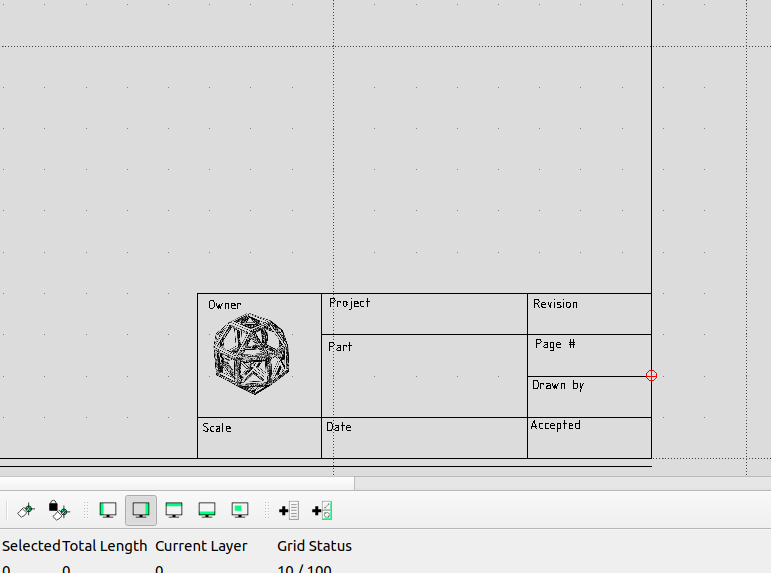
- Scale Downed Image will look like this
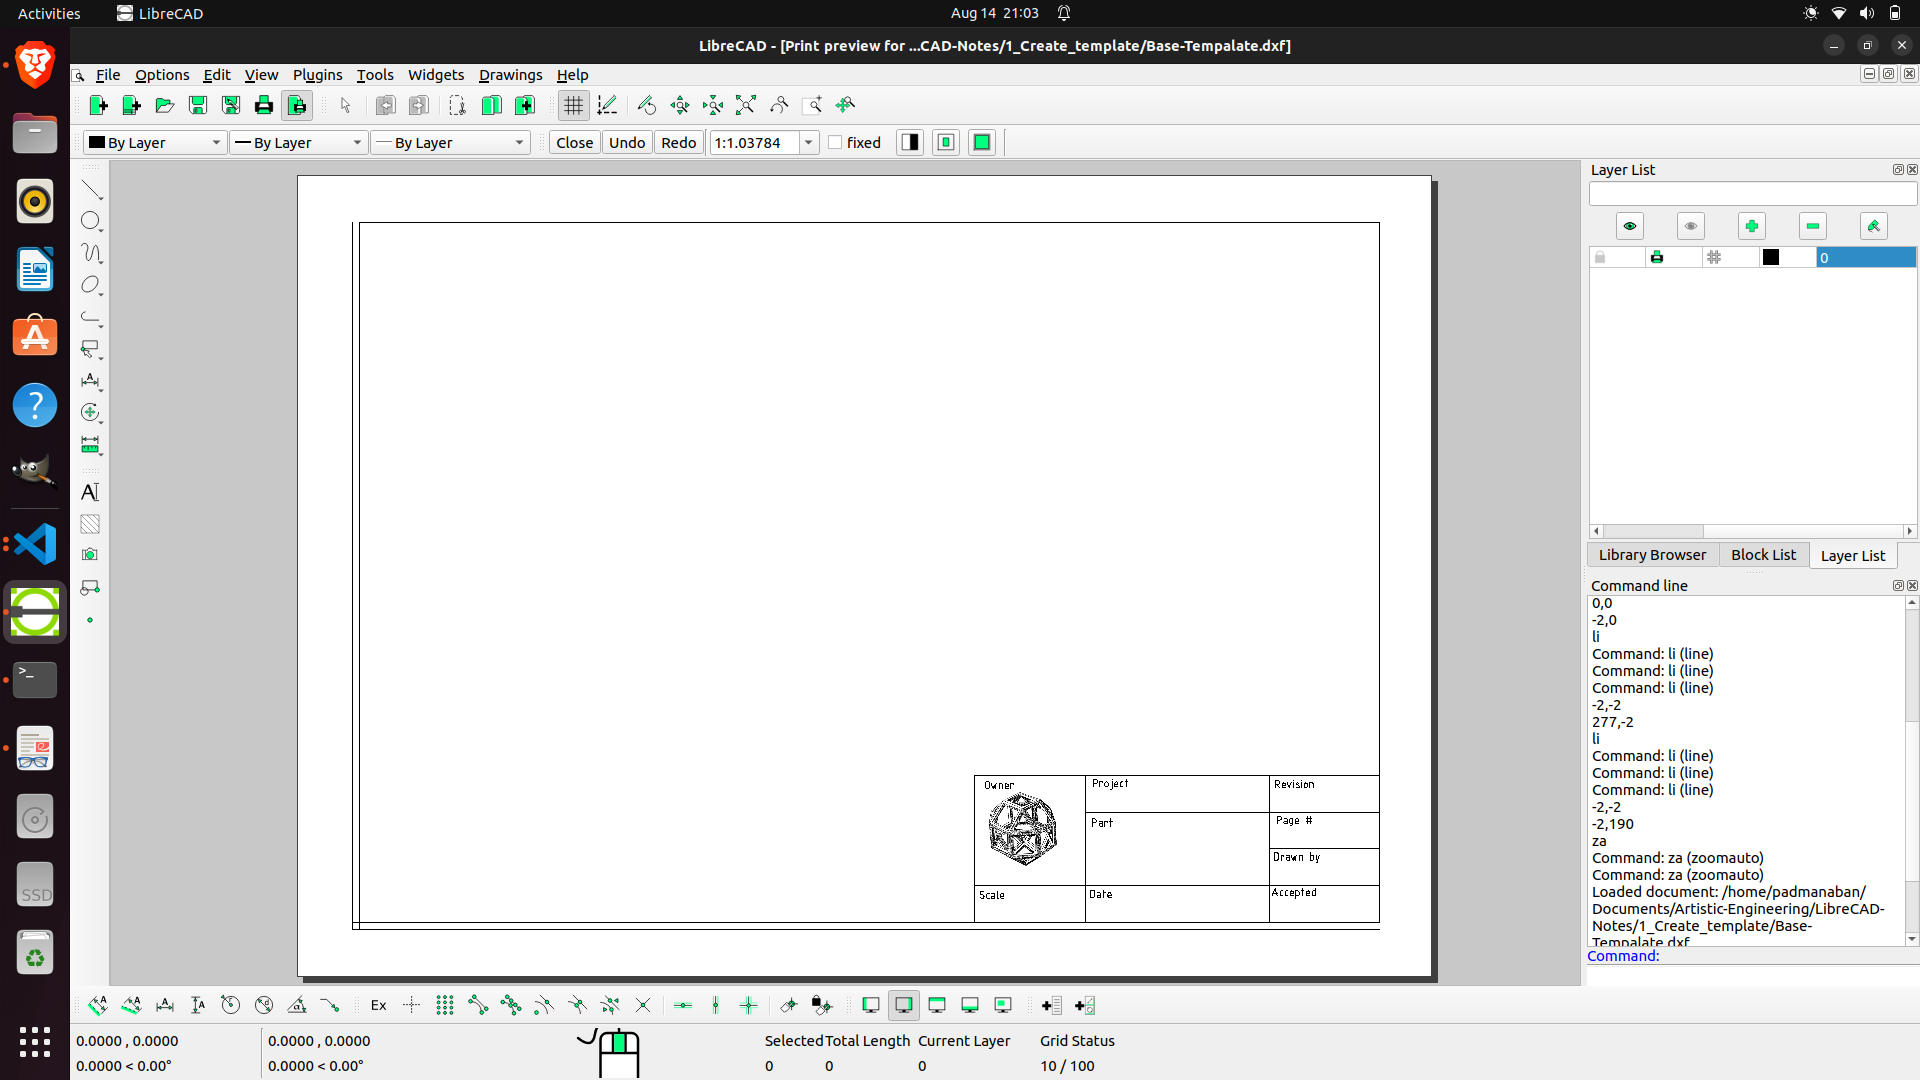
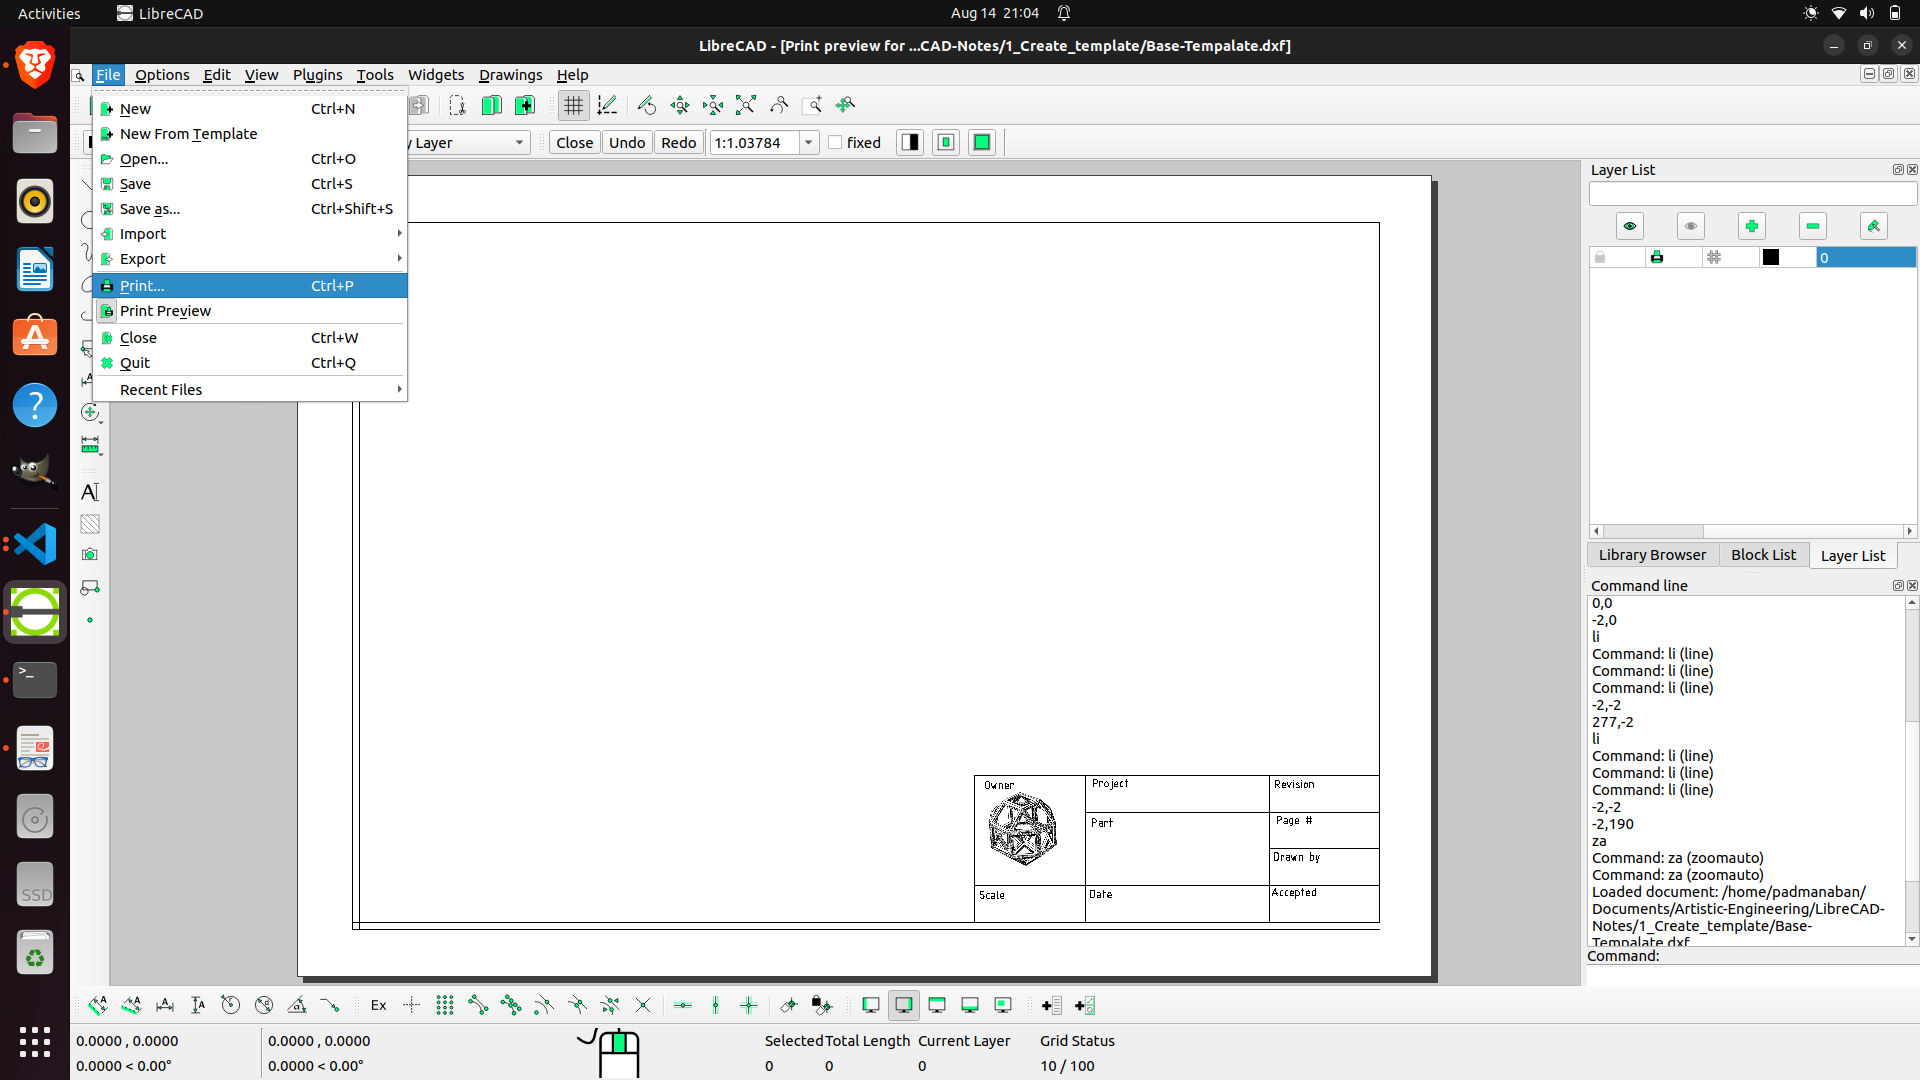
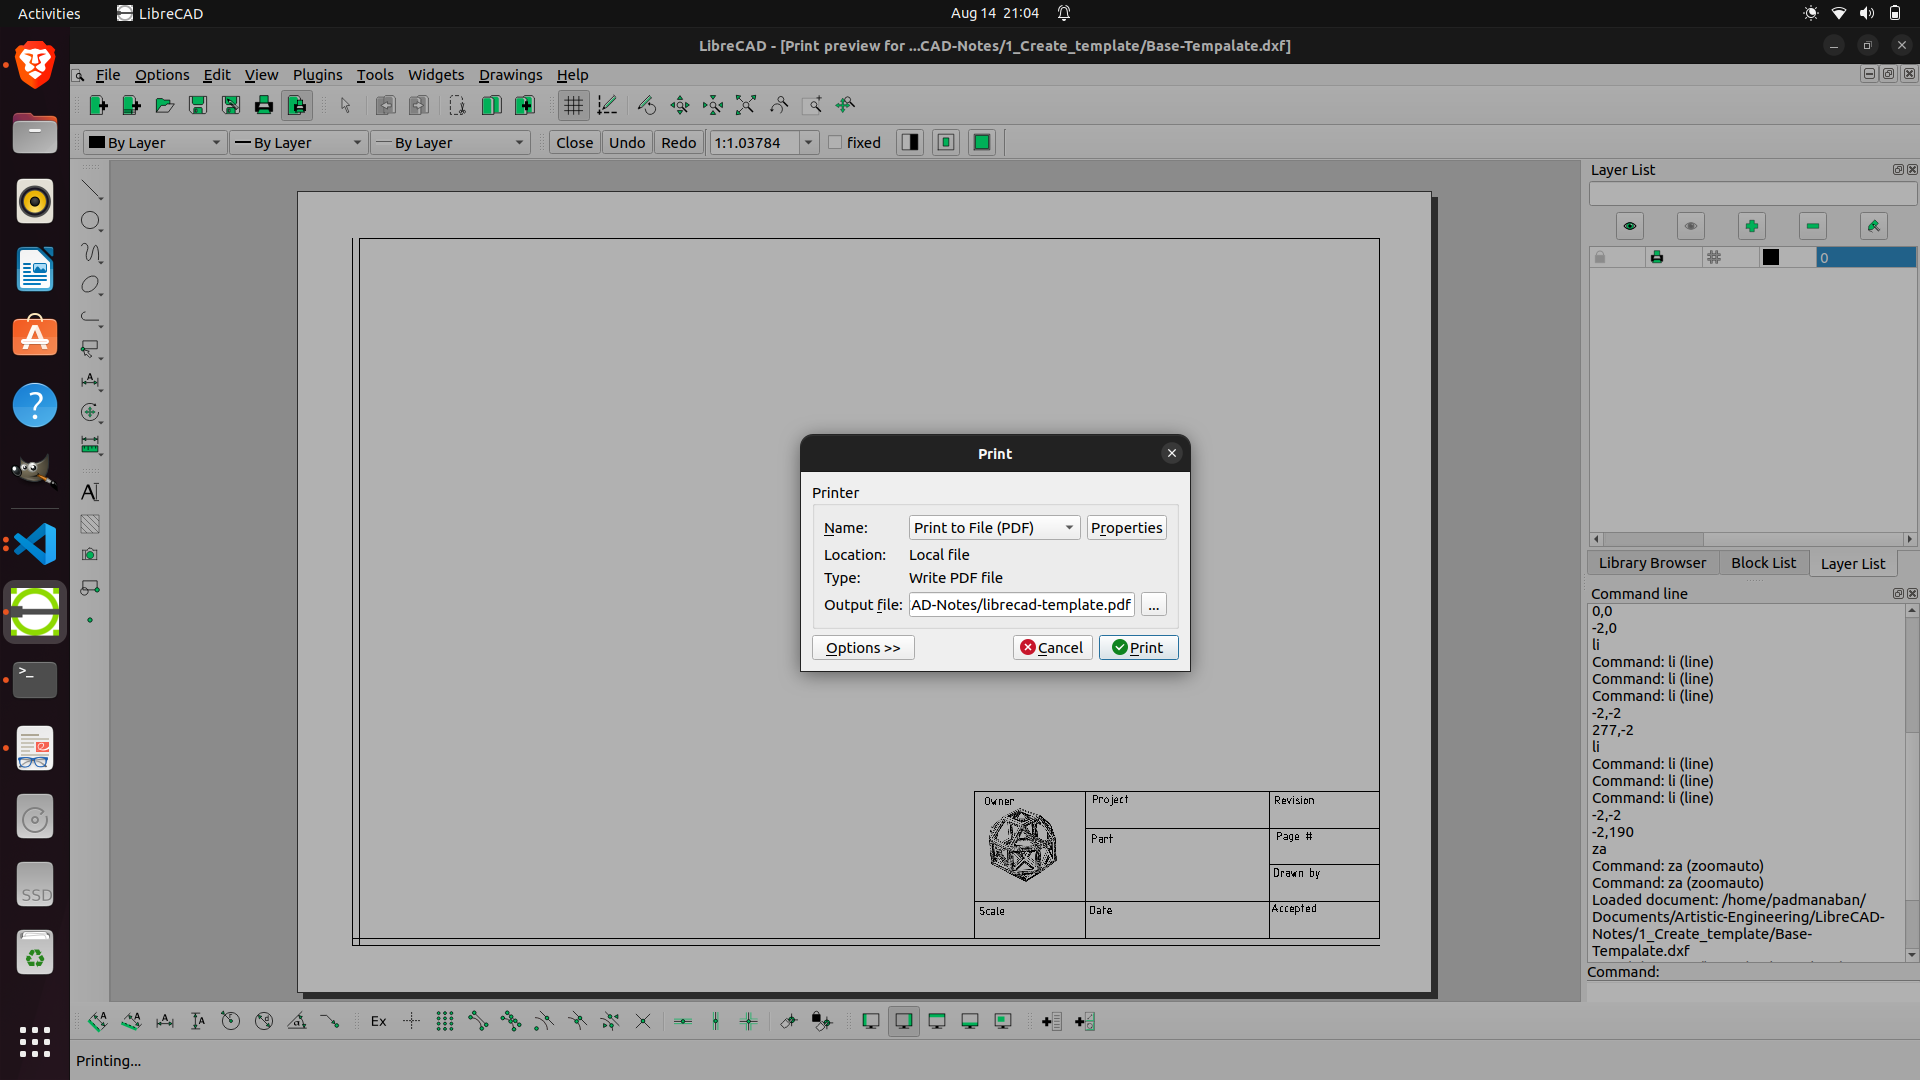
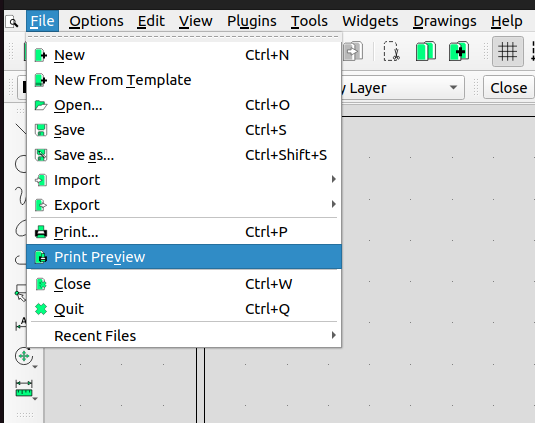
1.6 Printing the Template
- Saving the Template
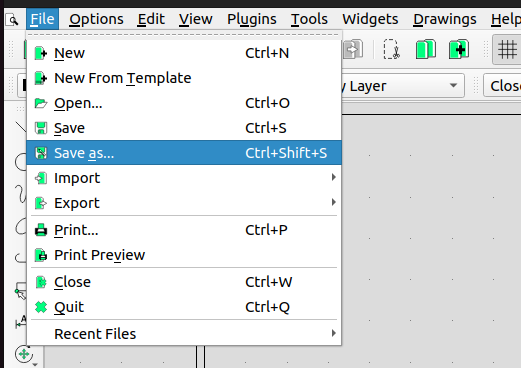
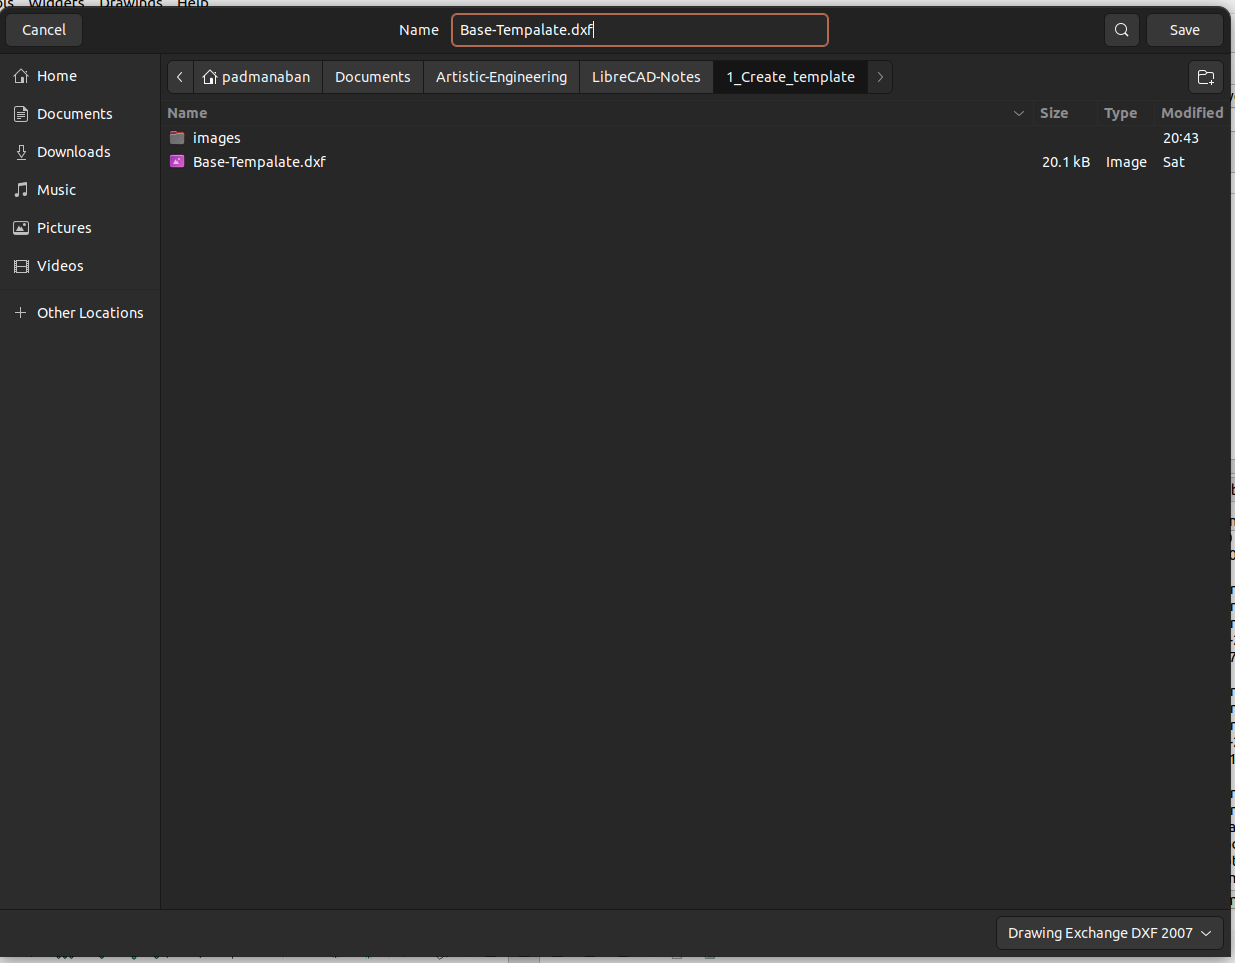
- Select
File --> Print Preview
- Print Previwed template would look like this